Adding an expand/collapse control for the Trip Folder Stops grid
While working in the Trip Folder, updating the status of each trip as it progresses to completion, a dispatcher’s attention will most likely be focused on the Stops grid of the Trip Folder, rather than the Order or Movement information in the Header.
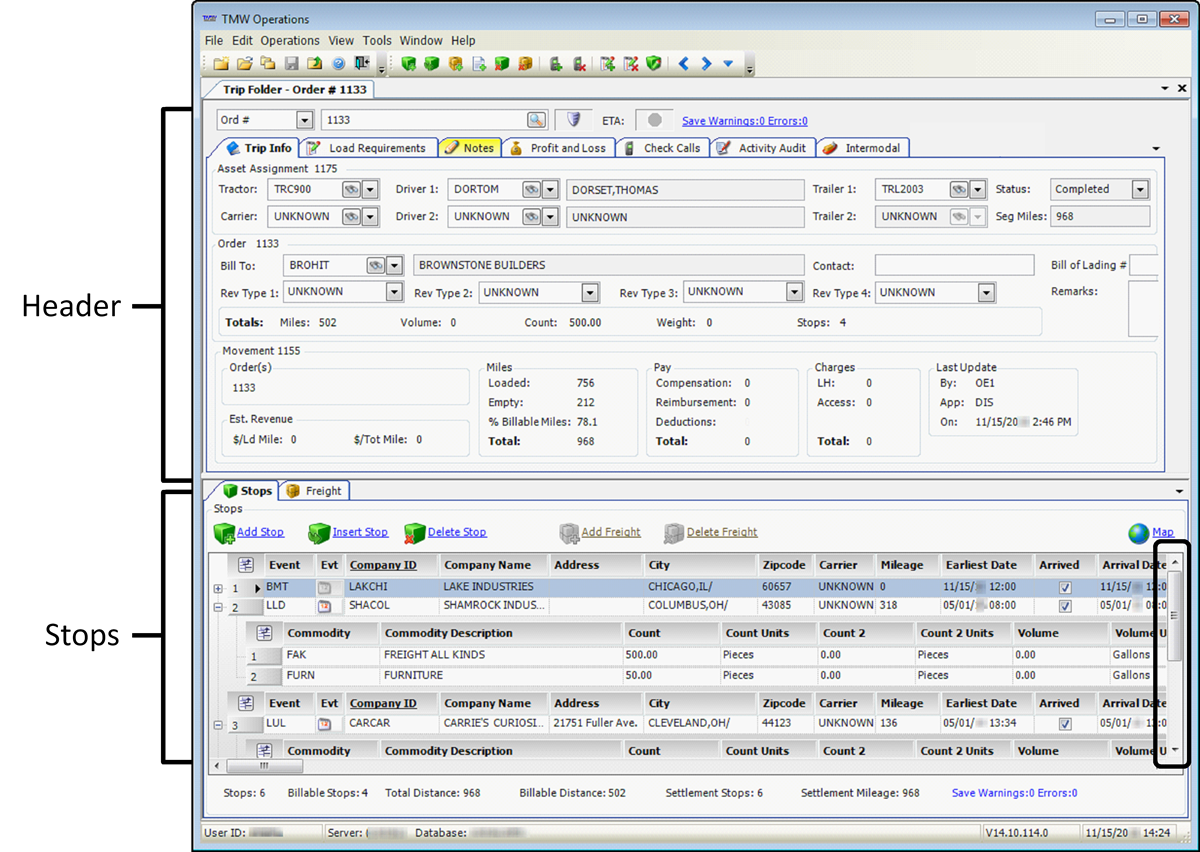
If the trip has multiple stops and commodities, the dispatcher might need to scroll to see all the data in the bottom grid. Instead, a system administrator can add an [Expand Stops] toggle control to the Trip Folder that allows the dispatcher to quickly enlarge the Stops grid.
Increasing the size of the Stops grid would make more of the stops and commodities visible without the need to scroll. A scroll bar is added to the header.
When you click on the control:
-
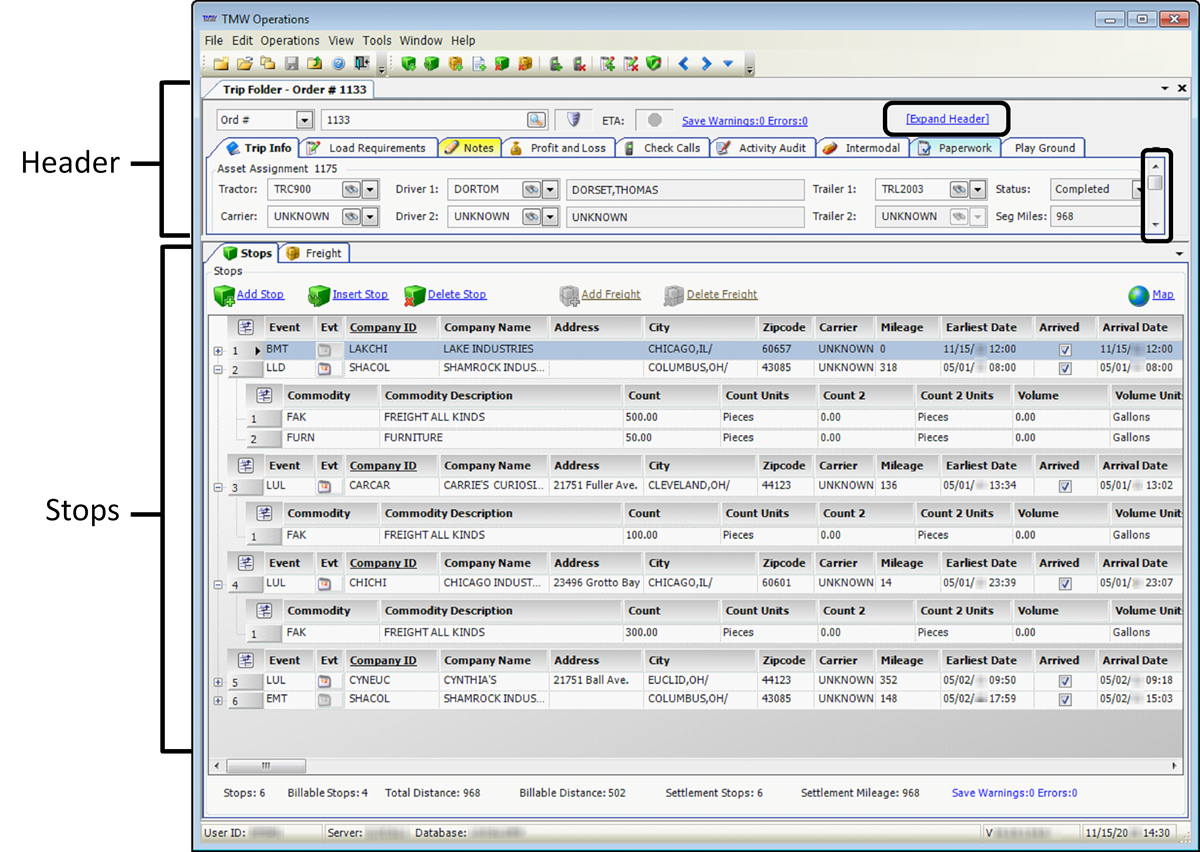
The header portion of the window collapses to show only the Asset Assignment information. The Order and Movement sections of the header are hidden from view.
-
The Stops portion of the window expands so that you can easily see all the stops and related freight.
-
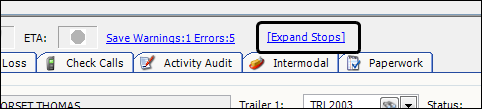
The name of the control changes from [Expand Stops] to [Expand Header].
Only the Trip Info tab on the Trip Folder lends itself to a collapsed view. If you switch to another tab, you can click on the [Expand Header] control to restore the portions of the window to their original sizes.
Use this procedure to add an [Expand Stops] toggle control to the Trip Folder.
-
Open the Trip Folder.
-
If you want to add this control to a saved layout, load the layout.
-
Right-click on the window and select Toggle QuickDesigner.
-
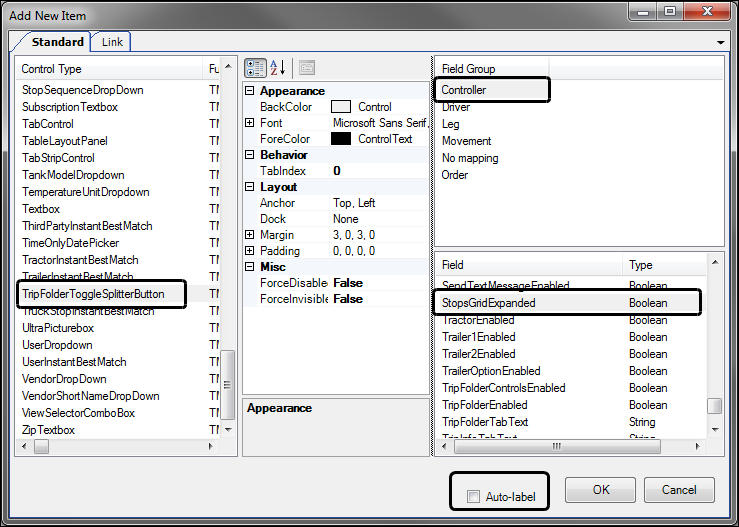
Right-click again on the header portion of the Trip Folder, and select Add New Item.
-
Make the following selections:
-
Under Control Type, select TripFolderToggleSplitterButton.
-
Under Field Group, select Controller.
-
Under Field, select StopsGridExpanded.
-
Clear the Auto-label checkbox.
-
-
Click OK.
The control is added.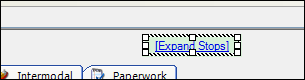
-
Move the control to the desired location.
-
Right-click on the window and select Toggle QuickDesigner.
-
Save the layout.
-
If you had loaded a saved layout, right-click on the window and select Save Layout to Database.
-
If this is a new layout, do the following:
-
Right-click on the window and select Save New Layout to Database.
The Save Form Layout window opens.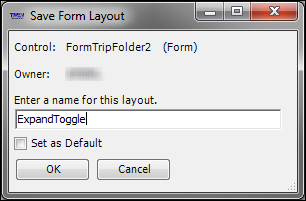
-
Enter a name for the new layout.
-
If you want this layout to be your default layout, select the Set as Default checkbox.
-
Click OK.
-
-
-
Assign the layout to users or groups of users.