Companies
Access method:
-
Go to Tools > Scrolls > Company Scroll.
-
Place the cursor in a company field and press CTRL+ALT+S.
-
Place the cursor in a company field, right-click in the field, and select View Scroll.
-
In a company field, click
 View Scroll.
When you click Retrieve, the system retrieves companies that match all restrictions entered on all sub tabs, not just those restrictions set on the sub tab currently in the front.
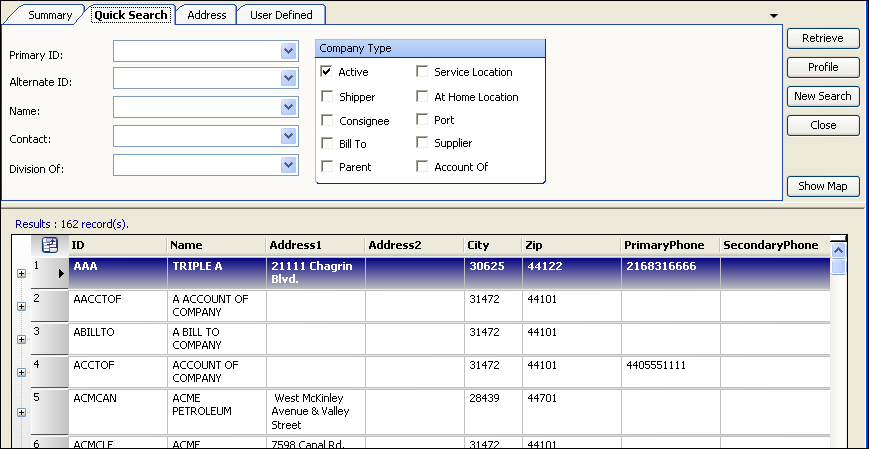
Company scroll - Quick Search tab
Use this sub tab to set restrictions based on company name, ID, and type. Restrictions entered in this tab will be compared against data entered in company profiles.
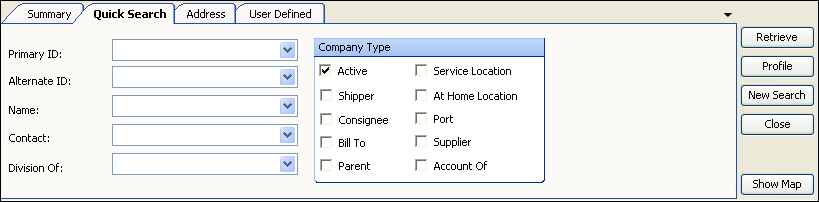
Primary ID |
Company ID |
Alternate ID |
If applicable, the company’s alternate ID |
Name |
Company name |
Contact |
Name of the person who is the primary contact at the company |
Division Of |
Parent company’s name |
Company scroll - Address tab
Use this sub tab to set restrictions based on company location or phone number. Restrictions entered in this tab will be compared against data entered in company profiles.
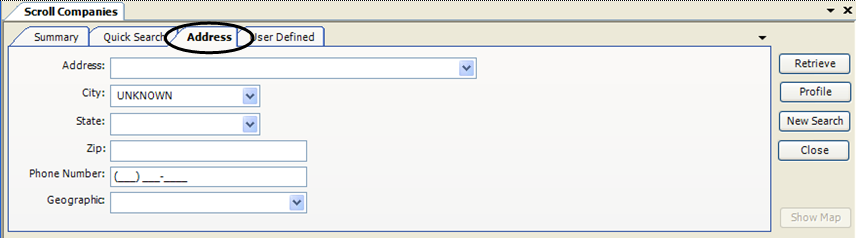
Address |
First line of the company’s street address |
City |
Company’s city |
State |
Company’s state or province |
Zip |
Company’s ZIP or postal code |
Phone # |
Company’s area code and primary phone number |
Geographic |
Company’s geographic location recorded in the GeoLoc(format) field in the company’s profile Note: This field is visible on the Company File Maintenance screen, but not on the .NET version of the company profile window. |
Company scroll - User Defined tab
Use this sub tab to set restrictions based on user-defined revenue and company categories.
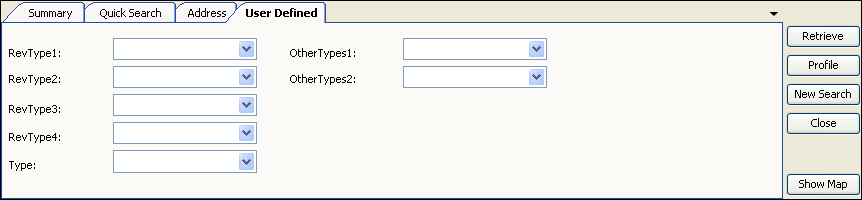
RevType1-4 |
Revenue classifications to which the company has been assigned. Note: The field names and options are set up in the RevType 1-4 labels in System Administration. |
Type |
For use with the CRM application, the CRM type to which the company has been assigned. Note: The options, such as Prospect, New Customer, or Lead, are set up in the CRMType label in Tools > Tools Maintenance > Edit User Definable Fields. |
Other Type 1-2 |
Company classifications to which the company has been assigned. Note: The field names and options are set up in Tools > Tools Maintenance > Edit User Definable Fields. |
Company scroll - Accessing the Profile window
When the list of company records is displayed, do one of the following:
-
Double-click on a company line.
The profile window opens as a tab within TMW Operations. You can easily switch from one tab to another. -
Select the company line, and then click the Profile button.
The profile window opens as a separate window from TMW Operations. While this window is open, you cannot access the TMW Operations window. -
Right-click the company ID. From the menu, select View Profile.
The profile window opens as a separate window from TMW Operations. While this window is open, you cannot access the TMW Operations window.
The Company Profile window for that company opens.
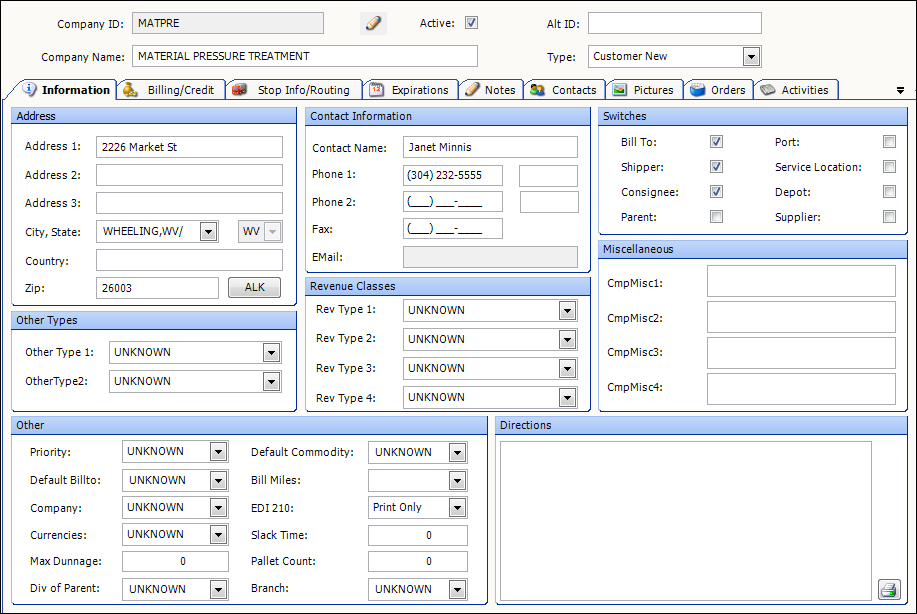
View profile data on sub tabs.
Company Name/ID |
Displays company name and ID at the top of the profile window when any sub tab is selected.
|
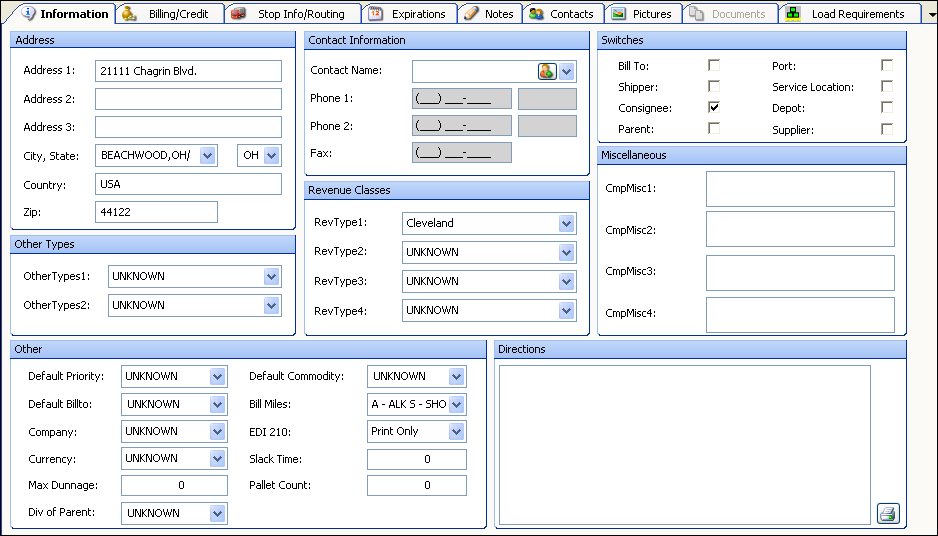
Information |
Provides key company profile data, including:
|
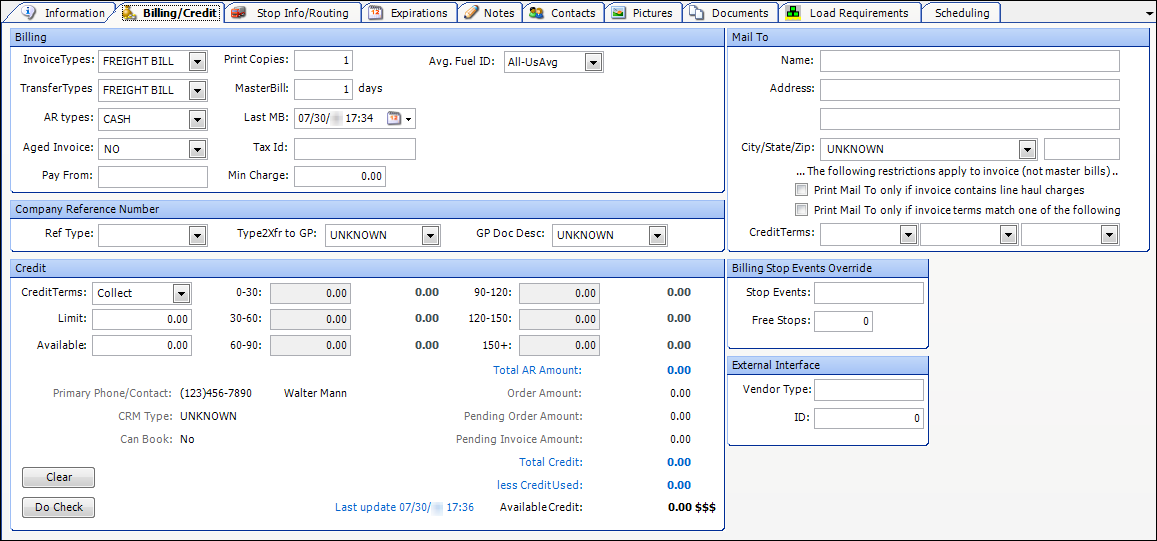
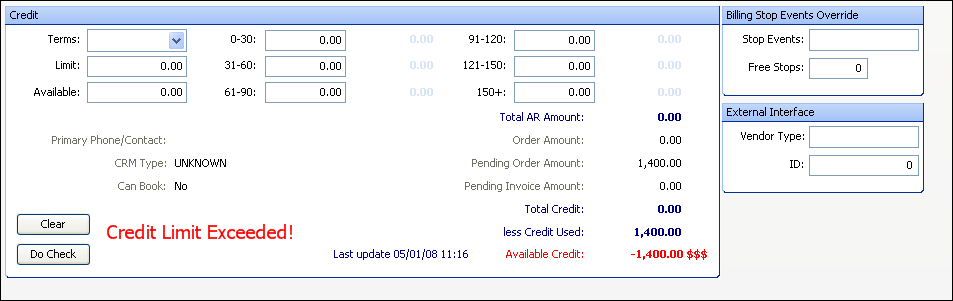
Billing / Credit |
Provides information that includes:
|
Stop Info / Routing |
Displays the company’s location, hours of operation, and stop types.
|
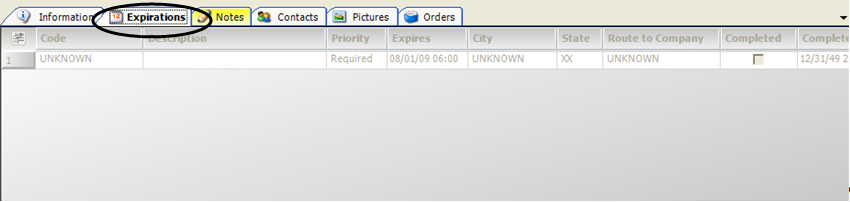
Expirations |
Provides a list of key activities and shut-down dates that can affect loads moved for a company.
|
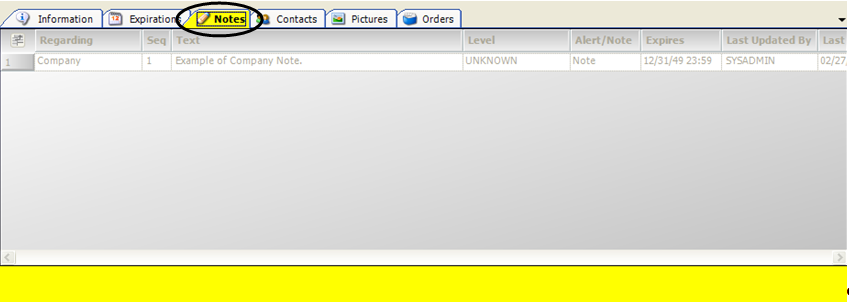
Notes |
Displays free-form company notes and alerts. A note allows you to convey information about the company to other users of any core Trimble application. If a note has critical importance, you can flag it as an alert. The color of the Notes tab indicates whether any notes exist and, if there are, whether any are alerts:
|
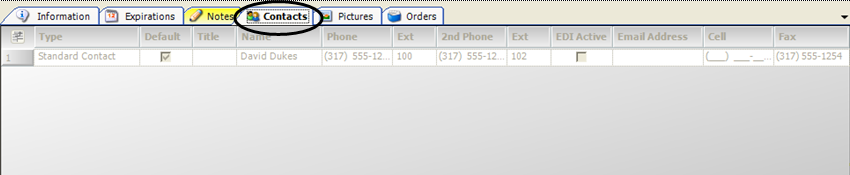
Contacts |
Provides information on how to reach the people with whom your company does business.
|
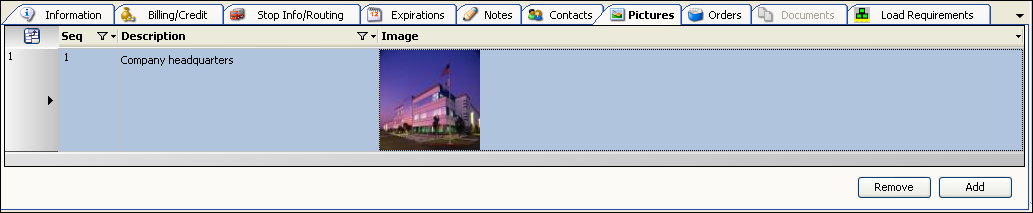
Pictures |
Displays a list of pictures of the company and other related images.
|
Documents |
Displays a list of documents that were uploaded for the selected company.
|
Load Requirements |
Displays a list of a company’s default load requirements.
|