Restricting access to views
A view is available to the user or user group you selected when you created it. Follow this procedure to make a view available to other users or user groups.
| If a user belongs to more than one group, that user will have access to the views available to both groups. |
-
Go to File > Board Setup.
The Board Setup window opens. -
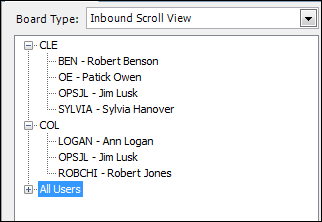
From the Board Type drop-down list, select the type of view with which you want to work.
-
To locate the view, from the user tree, select the user or user group that currently has access to this view.
-
From the grid, select the view to which you want to restrict access.
-
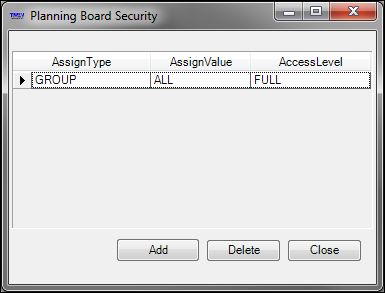
Click Access.
The Planning Board Security window opens.This example indicates the view was set up for all users.
-
Assign the user or user group.
Note: You must have at least one assignment for a board view. Therefore, you must add the new user or user group before you can delete the existing assignment.
-
Click Add.
A new row is added to the list.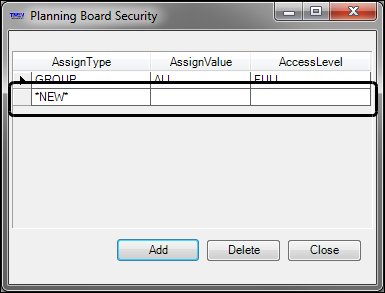
-
From the AssignType list, select one of the following:
-
User - to assign the view to a user ID
-
Group - to assign the view to all users in a user group
-
-
From the AssignValue list, select the user or user group.
-
Select FULL.
Note: Although the AccessLevel column is not functional, you must make a selection to save the assignment.
-
Repeat these steps for each user or user group as applicable.
-
-
If the view was set up to allow access to the user group ALL, and you are restricting access to fewer users, remove it.
-
Select the GROUP/ALL row.
-
Click Delete.
A confirmation message is shown. -
Click Yes.
-
-
Click Close.
-
On the Board Setup window, click Save and then OK.