Limiting access to reference numbers
You can provide users or groups with limited access rights to all the reference numbers on an order opened in Order Maintenance and Trip Folder.
Some users can have read-only access, while others can add, edit, or delete reference numbers. System administrators and Supervisors will always have full access to reference numbers.
The reference number security feature applies to all reference numbers on the following.
Trip Folder |
Order Maintenance |
Trip Info header |
Header |
Stops tab |
Summary tab |
Freight tab |
Stops tab |
The [Misc]ReferenceNumberSecurityEnabled setting in your TTS50 activates the feature and adds access to the Reference Number Admin window.
Assigning reference number security
After you have activated the feature with [Misc]ReferenceNumberSecurityEnabled=Y, use the Reference Number Admin window to assign security levels to users and groups.
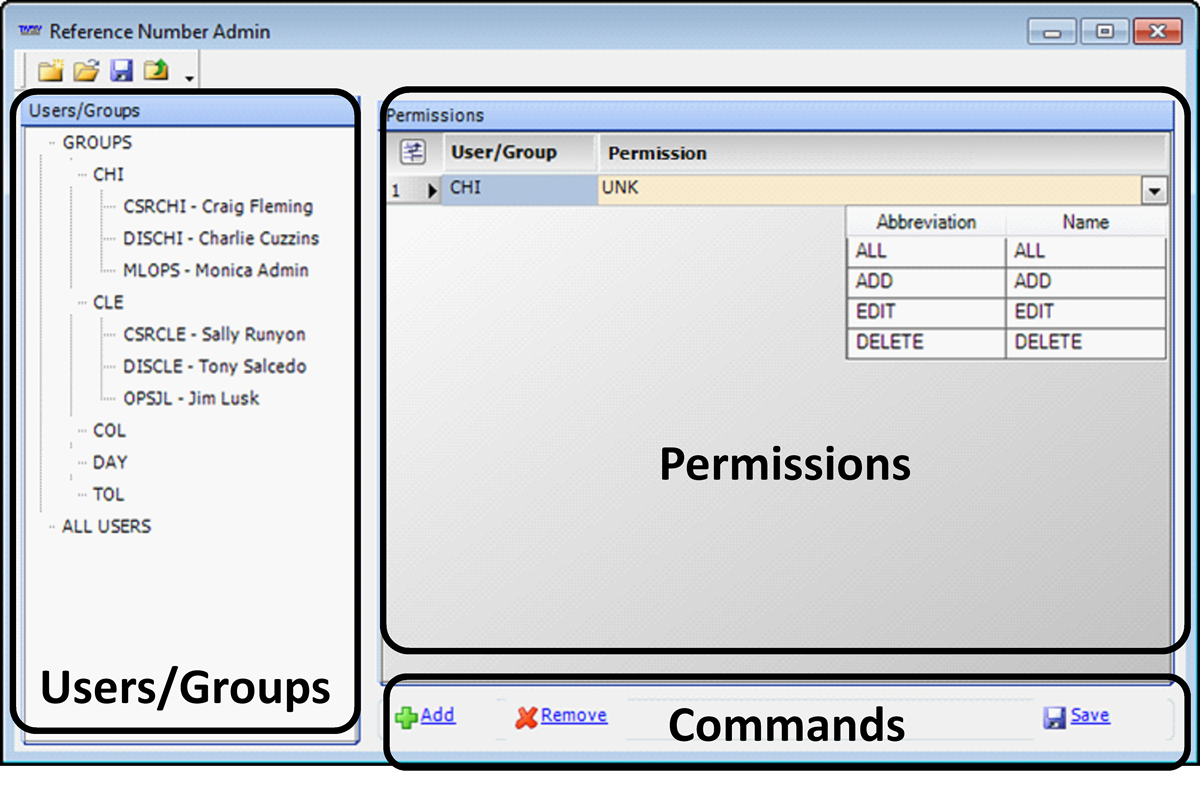
Users/Groups User group structure established in the System Administration application |
||
Permissions |
Assigned security levels for the user or group selected in the Users/Groups pane |
|
Commands |
Command controls that are used to add, remove, and save security levels for users and groups |
|
|
Note: The New, Open, and Save icons at the top of the window do not control adding and removing permissions within the window. |
|
| Until you assign a specific security level to a user, the user will have read-only access to reference numbers. |
To assign reference number security, follow these steps:
-
Go to Operations > Reference Number Admin.
The Reference Number Admin window opens. -
Under Users/Groups, select the user or group you want to assign.
-
Click
 Add at the bottom of the window.
A new permission row is added for the selected user or group.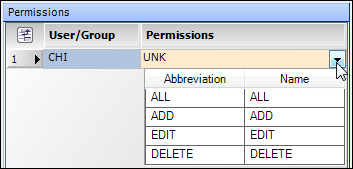
-
Select the permission level for the user or group.
ALL
ADD, EDIT, and DELETE rights for reference numbers will be assigned. The user will be able to add, change existing, and delete existing reference numbers or reference number types.
ADD
ADD and EDIT rights for reference numbers will be assigned. The user will be able to add reference numbers and to change existing reference numbers or reference number types that they themselves added.
EDIT
EDIT rights for all reference numbers will be assigned. The user will be able to change existing reference numbers or reference number types.
DELETE
DELETE rights for reference numbers will be assigned.
Note: If you assign only DELETE rights, the Reference Number fields are read-only. To delete a reference number, the user must click the Ref button or icon to open the reference number grid.
-
Click
 Save at the bottom of the window.
Note: The
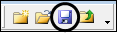 Save icon at the top of the window does not control adding and removing permissions within the reference Number Admin window.
 -
Repeat Step 2-5 for each user or group assignment.
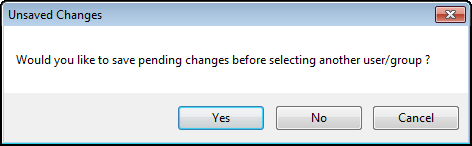
Note: If you attempt to switch from one user or group to another without saving, an Unsaved Changes message is shown.
-
Click Yes to save your changes.
-
Click No to switch to another user or group without saving your changes.
-
Click Cancel to close the message window and continue.
-
Modifying or removing a reference number security level
Use this procedure to change or delete a reference number security level you have assigned.
-
Go to Operations > Reference Number Admin.
The Reference Number Admin window opens. -
Under Users/Groups, select the user or group you want to modify or remove.
-
To change the security level assignment, do the following:
-
In the Permissions pane, select the row to modify.
-
Under Permissions, select the security level to assign.
-
Click
Save at the bottom of the window.
-
-
To remove a security level assignment, do the following:
-
In the Permissions pane, select the row to remove.
Note: To select multiple rows, you can use CTRL+Click or SHIFT+Click.
-
Click
 Remove at the bottom of the window.
 -
Click
Save at the bottom of the window.
-