Retrieving and processing routes
After you create a route template in Route Maintenance, use the Route Generation window to create orders from that template.
When you select one or more routes to process, the system creates orders that match the criteria for the routes.
| The illustrations above show only the basic fields. QuickDesigner was used to hide all custom fields. Your user interface may look different. For information about using QuickDesigner, see Toggling in and out of QuickDesigner mode. |
Retrieving routes
To retrieve a list of routes to process, follow these steps.
-
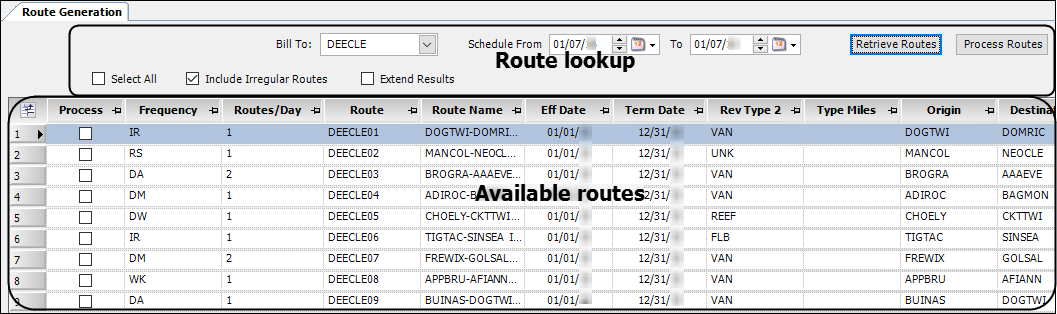
Go to Tools > Route Scheduling > Route Generation.
The Route Generation window opens. -
Use the lookup fields to select criteria.

Required field: *
Field Definition Bill To *
Bill To company
Schedule From *
Range of dates in which to generate orders. Routes that are effective in this date range will display.
Include Irregular Routes
Select the checkbox to include irregular routes in the search.
-
Click Retrieve Routes.
The routes that match the criteria are displayed.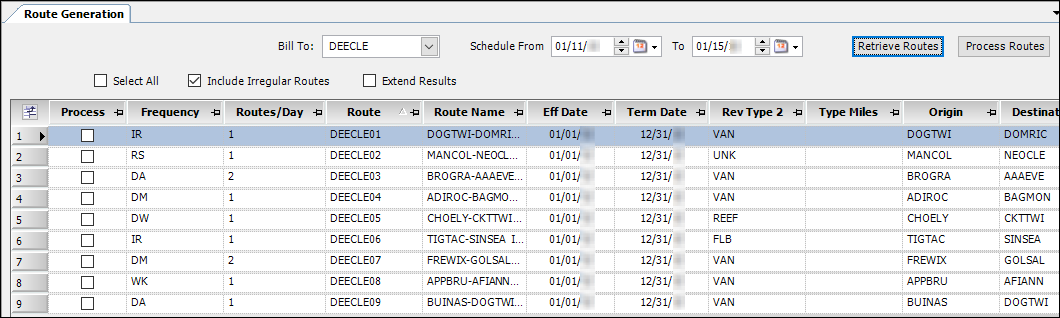
Processing routes
After you have retrieved routes, use this procedure to create orders.
-
Do one of the following:
-
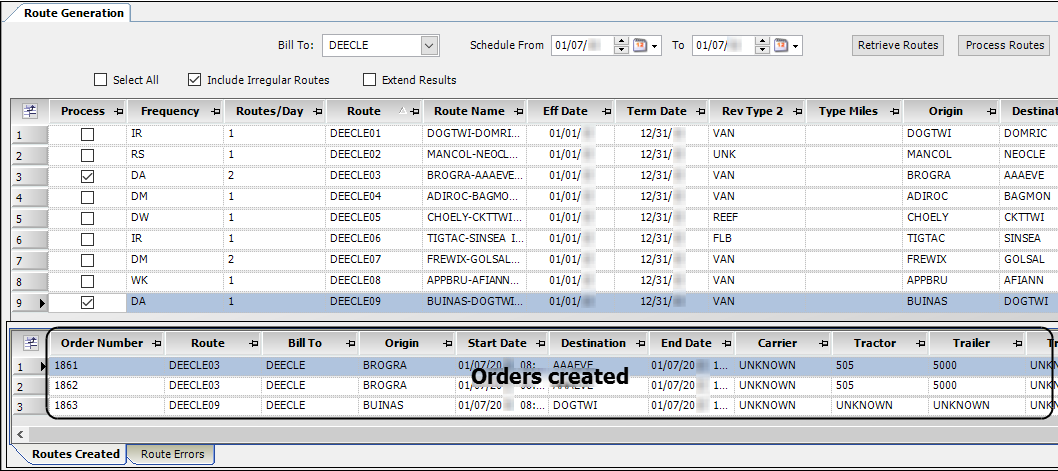
To process specific routes, select the Process checkbox next to each route you want to process.
-
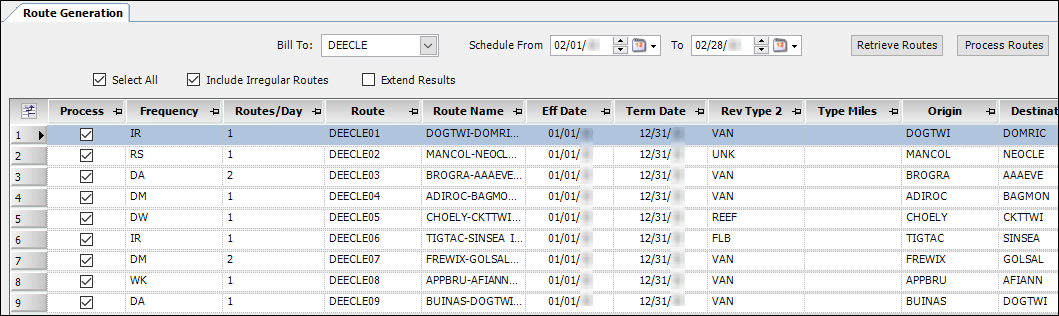
To process all routes, select the Select All checkbox in the lookup area.
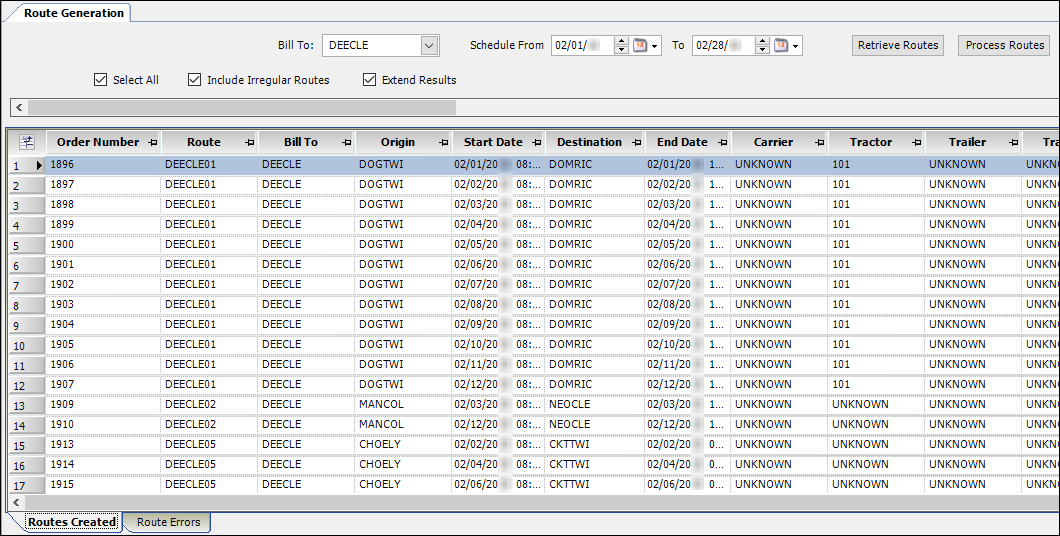
In this illustration, all routes, including irregular routes, have been selected for the Bill To company DEECLE.
+
-
-
If you like, change the number of orders that will be created for irregular routes. Enter a value in the Routes/Day field for the irregular route.
Note: The times for all generated orders will remain the same. To edit times for an individual order, open it in the Trip Folder.
-
Click Process Routes.
Orders appear in the Routes Created tab at the bottom of the window. Depending on the number of orders created, you may have to select the Extend Results checkbox to see them. Clearing the checkbox redisplays the retrieved route(s).
This illustration shows the orders that were created after clicking Process Routes for the routes retrieved. The orders all occur within the date range specified in the Schedule From fields in the route lookup area.
If any errors occurred during the generation process, they will appear in the Route Errors tab. The system will not create orders for a route containing errors. However, the system will create orders for any error-free routes that were included in the process.
You must select the Route Errors tab at the bottom of the window to view the error data. This illustration shows a tractor expiration warning.
![]()
| For all except irregular routes, you can only process a route once for a selected date or date range. This is true even if you edit a route template in Route Maintenance. If you want to generate orders with different parameters, create a new route template. |
Viewing generated orders in the Trip Folder
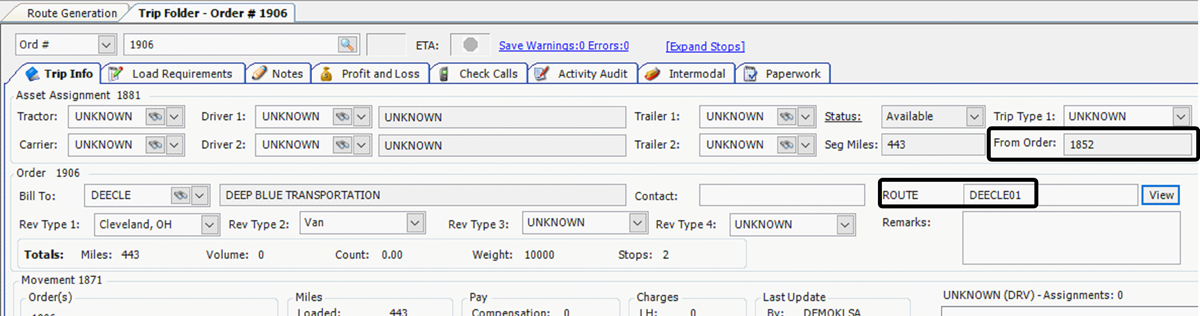
Double-clicking on an order in the Route Generation window opens it in a Trip Folder window. The master order number appears in the From Order field. The route code (reference type RTE) appears in the Order Reference Number field.
| Orders generated from a route that was originally created in Oil Field Order Entry cannot be opened in the Trip Folder. You must open them in Oil Field Order Entry. |
To view the Route label, you must add the option to the label file. In the Edit User Definable fields window, specify the following:
-
Field Name: ReferenceNumbers
-
Description: Route
-
Abbr: RTE
-
Code: A unique number
If the From Order field does not appear, you can add it to your layout using QuickDesigner. In the Add New Item window, specify the following:
-
Control Type: Textbox
-
Field Group: Order
-
Field: FromOrder