Working with truck stop profiles
The Truck Stops window allows you to create and edit truck stop profiles.
TMW Operations will automatically create truck stop profiles based on information contained in a fuel purchases/advances import file. When the import data is processed, the profiles are created. If you use this method to create profiles, you may need to fill in missing information, such as a street address or ZIP Code. You can do this in the Truck Stops window.
To add or edit truck stop profiles, follow these steps.
-
Go to Operations > Fuel Maintenance > Truck Stops.
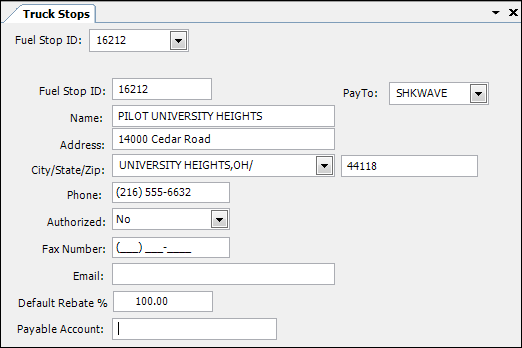
The Truck Stops window opens.Required field: *
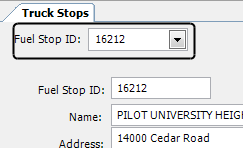
Fuel Stop ID *
Unique code assigned to the truck stop by the vendor
PayTo *
Pay To company that will receive payments for this direct bill truck stop
Note: This field is applicable only if you are using TMWSuite Microsoft Dynamics GP Integration. For details, see:
Guide: Advances/Fuel Purchases Import Interface | Appendix: Creating payable invoices when processing purchases and advances
Name
Name of the truck stop
Address
Street address of the truck stop
City/State/Zip
City, state, and ZIP Code of the truck stop
Phone
Telephone number of the truck stop
Authorized
Not used at this time
Fax Number
Fax number of the truck stop
Email
Email address of the truck stop
Default Rebate %
Default rebate percentage associated with transactions at this truck stop
Payable Account
Payable account number used to categorize purchases made at the truck stop
Note: This field is applicable only if you are using TMWSuite Microsoft Dynamics GP Integration. For details, see:
Guide: Advances/Fuel Purchases Import Interface | Appendix: Creating payable invoices when processing purchases and advances
-
Do any of the following:
-
Add a new profile
-
Click
 New.
New. -
Make entries in the fields as needed.
-
-
Edit an existing profile
-
In the Fuel Stop ID field, enter or select the ID for the profile you want to edit.
-
Make changes as needed.
-
-
-
When you have completed all edits, click
 Save.
Save.