Using the Driver Mass Assign feature
First available in TMW Operations V.2023.2
The Driver Mass Assign feature lets you assign assets to multiple legs at the same time. It is available in the Planning Worksheet. The Pickup/Drop date and times will cascade based on the Start date and times.
To use the Driver Mass Assign feature, follow these steps:
-
Go to TMW Operations > Planning Worksheet and select one or more rows from the Available Trips grid.
-
Right-click and select the Driver Mass Assign option.
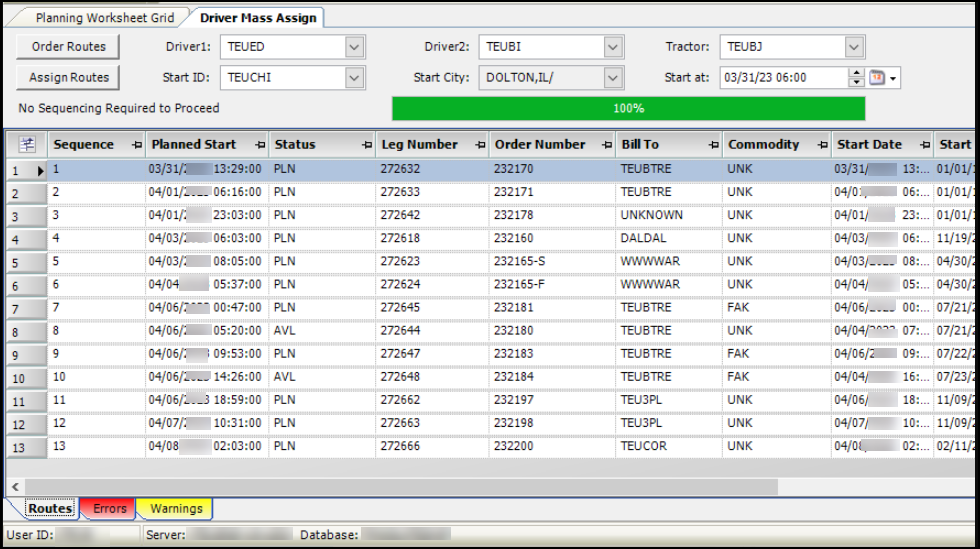
The Driver Mass Assign window opens. The available trips you selected will display in the window.
-
You can drag additional rows from the Planning Worksheet Grid into the window to plan additional.
Note: If loads selected include one or more legs assigned to carriers, those leg headers/routes will be removed from the list and will not show up in the Driver Mass Assign window. If one or more rows selected are in the status of Started (STD) or Completed (CMP), they will also not be included in the list sent to the Driver Mass Assign window. -
Adjust the values in the Sequence and Planned Start columns in the Routes grid. The Sequence is the number order you would like the loads to go in.
-
Select the Order Routes button to adjust the sequence and estimates.
Note: Text will display in the order header of the window when you need to select the button before proceeding. -
Select the Assign Routes button to process the Order Routes option before changes are saved.
If you select a new group of trips from the Available Trips grid and right-click select the option Driver Mass Assign, the trips will be set to plan in the Driver Mass Assign window. It will only open one window/tab at a time.
You can plan/adjust loads that are already in Planned (PLN) or Available (AVL) status. If you select loads in Started (STD) or Completed (CMP) status will not have the arrived or completed stops adjusted by date/time changes.
Modifying a load record
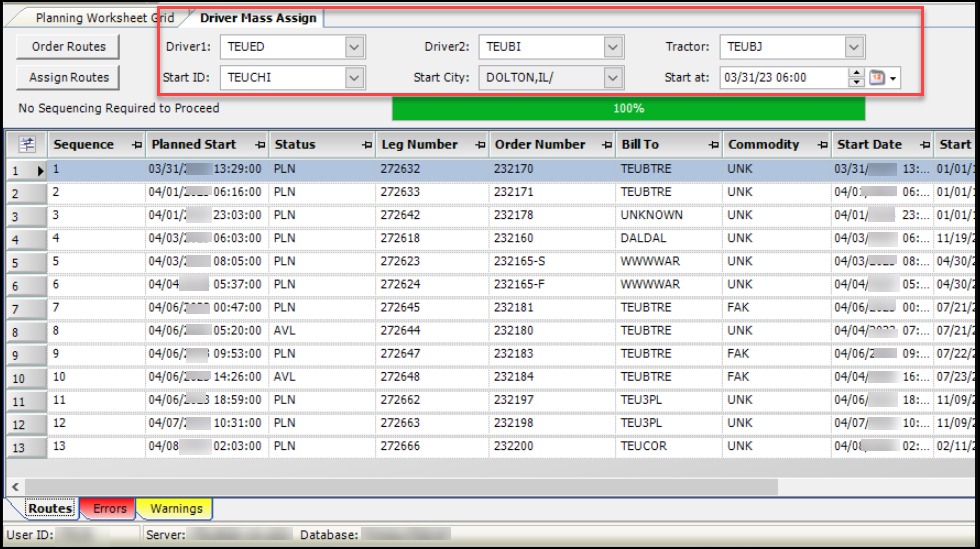
You can use the assignment fields at the top of the Driver Mass Assign window to add drivers, a tractor or modify the starting location and date/time to the assignments.
For example, if you use the Driver1 field the system will look up the current started or last completed trip for that driver. The Start City and Start at fields will populate based on that trip.
When you have completed making adjustments, select the:
-
Order Routes button to adjust the sequence and estimates.
and -
Assign Routes button to process the Order Routes option before changes are saved.
Reviewing system warnings/errors
When you use the Driver Mass Assign feature you may see some system processing errors. If an error occurs, there are tabs located at the bottom of the Driver Mass Assign window.
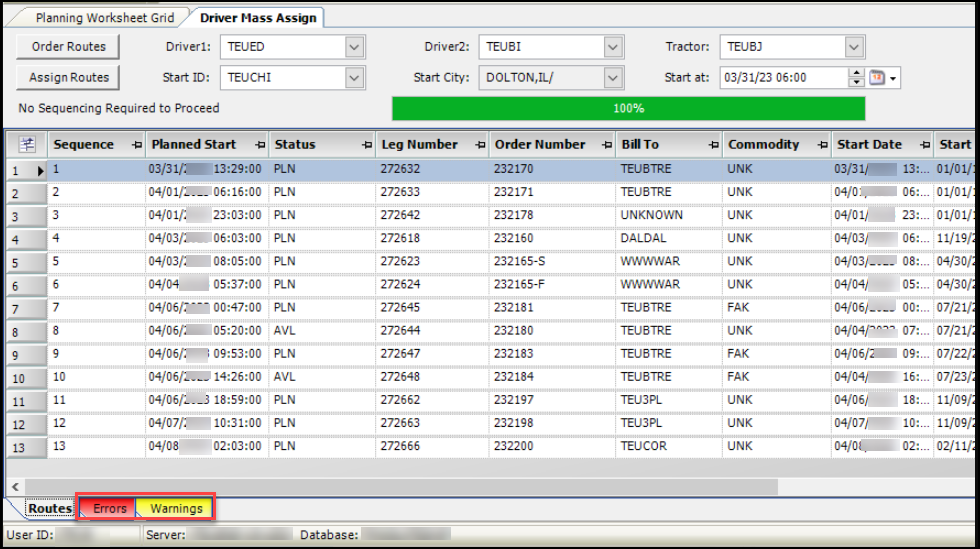
When there is a warning, the Warnings tab will turn yellow. When there is an error, the Errors tab will turn red.
To review the errors or warnings, click on the respective tab. They will each display in a separate grid.
| The colors of the tabs will reset to the original background color when a new list of orders to plan are put into the window. |
Example of the Errors and Warnings tabs in the window:
As you use the feature you may see some other system messages informing of an error or a process needed to proceed. A few examples are listed here:
A Driver Mass Assign Error pop-up window will display if no rows are selected. This also may be due to selected rows that were not included because of the status or carrier assignment.

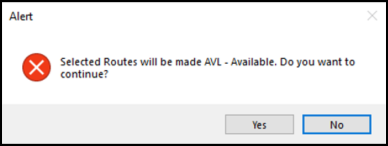
If you remove assignments by leaving assignment fields empty, you will get an Alert pop-up that they will be unassigned.