Quick Start: How do I plan loads?
| Quick Start topics are designed for users who want an introduction to the Planning Worksheet without a lot of detail. To get you up to speed quickly, they provide steps for basic tasks, as well as links to detailed information. TMW Operations is very configurable. Therefore, it is possible that your company’s unique setup will cause the application to work differently than described here. Check with your system administrator for assistance. |
The Planning Worksheet is a load planning and resource management tool. You can use it to review outbound and inbound trips, as well as available resources. To access it, select Operations > Planning Worksheet.
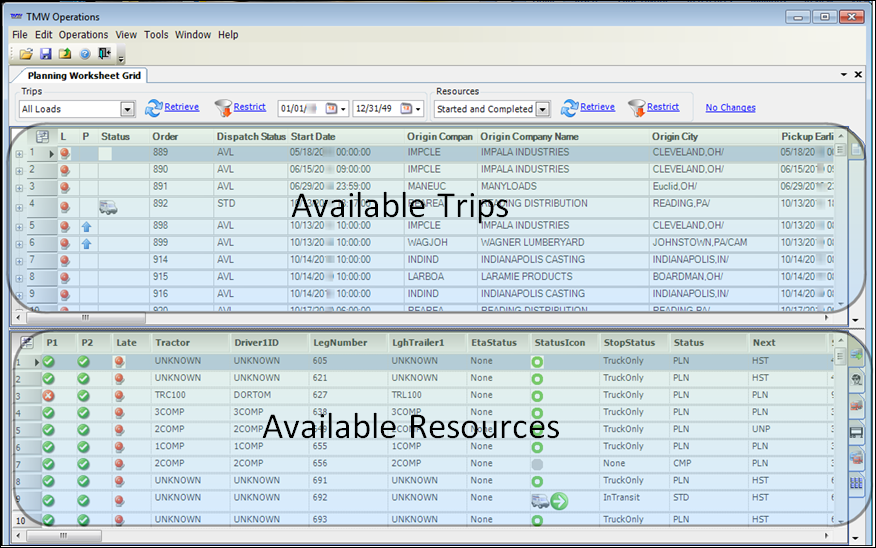
This window is divided into two panes.
-
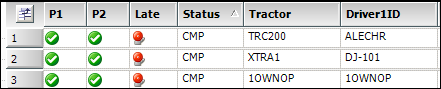
The Available Trips pane lists outbound trips that meet user-defined restrictions.
-
The Available Resources pane lists inbound trips and of resources that meet user-defined restrictions. These lists are shown in several grids, each of which appears on its own tab.
| For detailed information on the Planning Worksheet, see Layout of the Planning Worksheet. |
Working with outbound trips
Use this information to perform basic tasks using the Available Trips grid.
Retrieve outbound trips
In the Trips group box at the top left of the window, do one of the following:
-
Select File > Retrieve Trips.
-
Click Retrieve to the right of the Trips field.

| For more information, see Retrieving records. |
Change the date range for outbound trips
In the Trips group box, make entries in the date restriction fields to the right of the Restrict button. Then click Retrieve.

Temporarily change restrictions to limit the trips you see
-
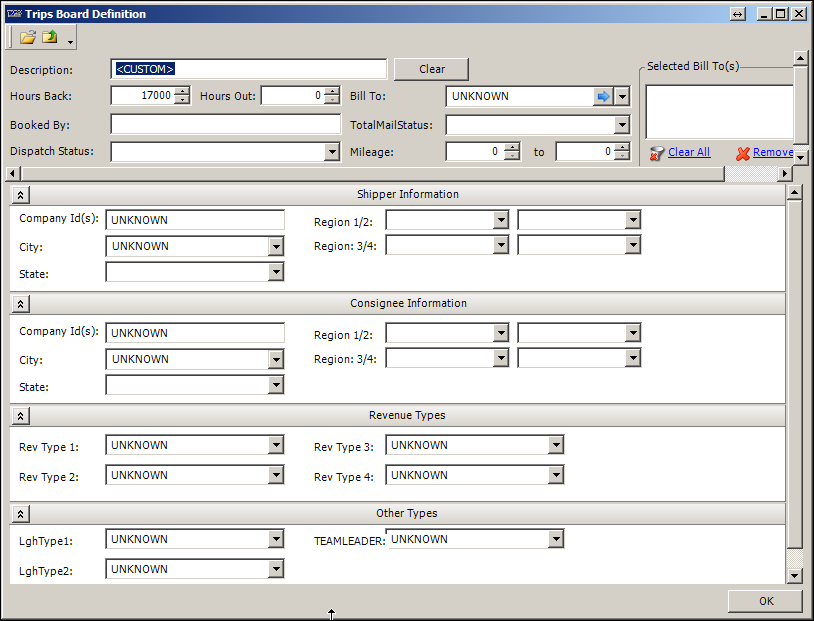
In the Trips group box, click Restrict to the right of the Trips field.

The Trips Board Definitions window opens.
-
Enter your restrictions and click OK.
Note: Your restrictions will remain in effect until you exit the Planning Worksheet.
For more information, see Temporarily modifying an outbound view
View and edit details about a trip
Use the inline editing feature.
-
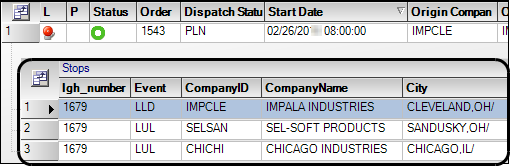
On the Available Trips grid, click
 Expand to the left of the trip.
Below the trip, the system displays details about the trip’s stops.
-
Edit data in these columns as needed: Arrived, ArrivalDate, Completed, DepartureDate, Driver1, Driver2, EarliestDate, LatestDate, Carrier, Tractor, Trailer1, and Trailer2.
For more information, see Using the inline editing feature
Working with resources and inbound loads
Use this information to perform basic tasks using the grids in the Available Resources pane.
Retrieve data in the Available Resources pane
Do one of the following:
-
Select File > Retrieve Resources.
-
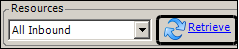
In the Resources group box at the top of the Planning Worksheet, click Retrieve.
For more information, see Retrieving data in the Available Resources grids.

Combine grids for inbound trips, drivers, and trailers
Click the ![]() All tab (sixth tab).
All tab (sixth tab).
The system displays the grids in this sequence.

Temporarily change restrictions to limit the records you see
-
Click Restrict in the Resources group box at the top of the window.

The Inbound/Power Board Definitions window opens.

-
Enter your restrictions and click OK.
For more information, see Temporarily modifying an inbound view.
Using the drag-drop feature to plan trips
Each record on the Available Trips grid is an outbound trip. To assign resources to an outbound trip, you can do one of the following:
-
Drag the trip down and drop it on a record on the the Inbound Trips grid. Or, drag a record upward from the Inbound Trips grid and drop it on the outbound trip.
-
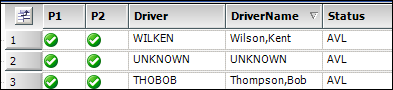
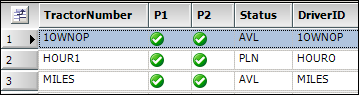
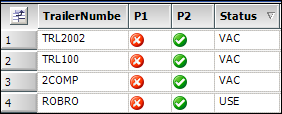
Drag a record upward from the Driver, Tractor, Trailer, or Carrier grid and drop it on the outbound trip.
| When you match (drag) an outbound trip to a trip on the Inbound Trip grid, all of the resources for the inbound trip are assigned to the outbound trip. |
These steps describe the drag-drop process for matching trips on the Available Trips grid with resources associated with trips in the Inbound Trips grid.
-
In the Available Trips grid, use your left mouse button to click down on the outbound trip for which resources are needed.
The cursor becomes an arrow. The trip is represented as a square beneath it.

-
On the Inbound Trips grid, locate the inbound trip that has the resources you want to assign.
-
Drag the outbound trip downward to the inbound trip.
-
When the tip of the cursor is directly over the inbound trip, release the mouse button to drop the outbound trip.
The Assign Driver/Equipment window opens. The fields at the top of the window display the IDs of the resources you selected.
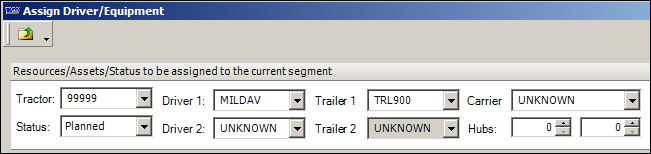
-
To save the assignment, click OK at the bottom right of the window.
| You could perform the drag-drop process in reverse instead. Drag a record upward from the Inbound Trips grid and drop it on the outbound trip. |