Recording accident information
You can record detailed information about all of a resource’s accidents on the Accidents tab. The tab is available in the driver, tractor, trailer, and carrier profiles.
| Instructions are provided for adding the record to a driver’s profile. The process is the same for all resources. |
Open the resource’s profile. For example, to open a driver profile, go to Tools > Profiles > Driver Profile.
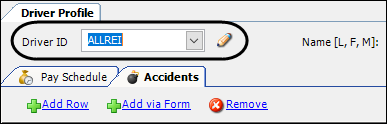
In the ID field, enter the ID of the resource you want to edit and press ENTER.
Click the Accidents tab.
|
Adding an accident record
You can enter accident information using the grid or the form window. The form window also allows you to:
-
Look up order information.
-
Edit some of the fields that are not accessible in the grid.
To add an accident record, follow these steps.
-
Access the Accidents tab, and then do one of the following:
-
To enter the information in the grid,click Add Row. A blank row appears in the grid.
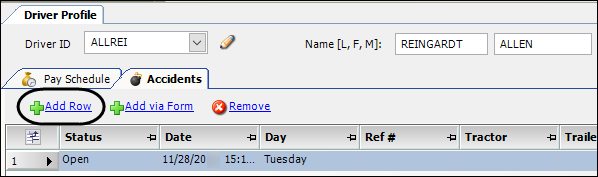
Go to Step 2.
-
To enter the information in a form window:
-
Click Add via Form.
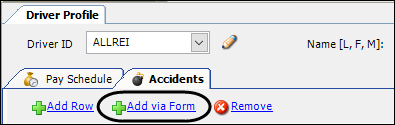
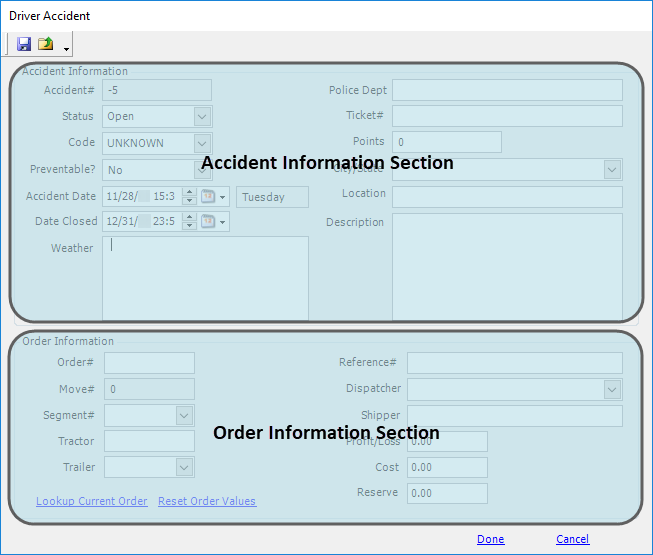
The Driver Accident window appears. It has two sections: Accident Information and Order Information.
-
To record order information, do one of the following:
-
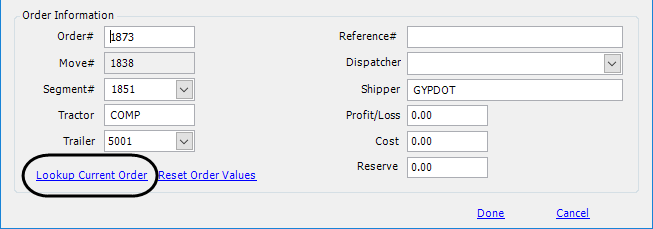
Click Lookup Current Order.
The system populates the Order Information section with data from the driver’s currently started or last completed trip.
-
If applicable, enter the order number in the Order # field and press ENTER.
The system populates the Move #, Segment #, Tractor, Trailer, and Shipper fields in the Order Information section. The fields are set to read-only.
If there was no order associated with the asset when the accident occurred, leave the Order # field blank. The Tractor and Trailer fields remain editable.
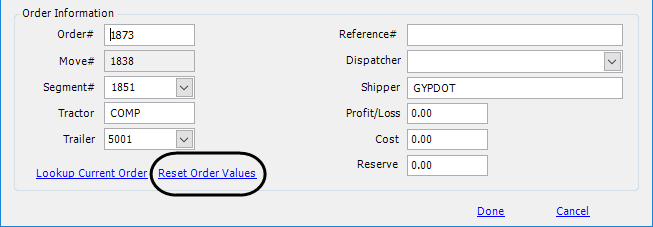
Note: To clear the fields in the Order Information section, click Reset Order Values.
-
-
-
-
Make entries in these fields.
Field Definition Accident#
System-generated reference number
Accident Date
Date and time of the accident
Note: The field defaults to the current date and time.
City/State
City and state where the accident occurred
Code
Company-defined accident code
Notes: . Code options are defined in the DrvAcdCd label. . The default option is specified in the
DriverAccidents_CodeDefaultGeneral Info Table setting.Cost
Estimated cost of the accident
Date Closed
The system defaults to the date and time when a user changes the accident status from open to closed. You can edit the date if needed.
Description
Details of the accident
Dispatcher
Dispatcher’s user ID
Note: This field uses instant best match based on the list of users in the TTSUsers table.
Location
Location of the accident
Order#/Move#/
Segment#If applicable, enter the order number, move number, or segment number associated with the accident.
If there are no orders associated with the asset when the accident occurred, leave the Order # field blank. The Tractor and Trailer fields remain editable.
Notes:
-
If you enter the incorrect order number, click Reset Order Values to remove all related order information.
-
The Segment # field drop-down list shows all trip segments associated with the order.
Points
Use this free-form text field to do one of the following:
-
Record the points applied against the driver’s license from a citation due to the accident.
-
Record other data in this field such as a company-defined safety code.
Police Dept
Reporting police department name
Preventable
Specifies whether the accident was avoidable
Options are:
-
Yes
-
No
-
Under Investigation
Note: The default option is specified in the
DriverAccidents_PreventDefaultGeneral Info Table setting.Profit/Loss
Record accident expenses or other financial information in this field.
Ref #
Reference number associated with the accident
Reserve
Estimated amount needed to satisfy the financial requirements of the claim
Shipper
ID of the shipper associated with the accident
Status
Accident’s status
Notes:
-
Status options are defined in the DrvAccidentStatus label.
-
The default option is specified in the
DriverAccidents_StatusDefaultGeneral Info Table setting.
Ticket#
If the police issued a ticket for this accident, enter the ticket number here.
Tractor
ID of the tractor involved in the accident.
Trailer
ID of the trailer involved in the accident.
Weather
Weather conditions when the accident occurred.
-
-
If you are using the Driver Accident window, click Done to close the window.
-
Click
 Save.
Save.
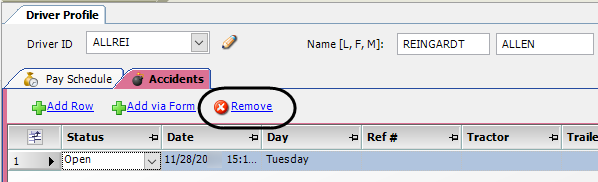
Editing an accident record
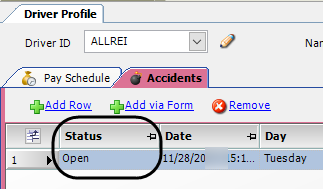
Once a record has been created, the Accidents tab turns red. The tab remains red until all accident records for the resource have a status of Closed.
To edit an existing record, follow these steps.
-
On the Accidents tab, do one of the following:
-
Edit the fields directly in the grid.
-
Edit the fields in the Driver Accidents window.
-
Double-click the record you want to edit.
The record appears in the Driver Accidents window. -
If needed, you can reset the order related information by clicking Reset Order Values.
-
-
-
Click Done to close the window.
-
Click
Save.