Viewing expiration warning indicators
TMW Operations displays indicators to provide dispatchers with visual cues regarding Priority 1 and Priority 2 expirations.
Usually abbreviated as P1 and P2, these indicators change color based on expiration status.
-
Green
Currently, no expirations are in effect for the resource. -
Yellow
An expiration for the resource is due to go into effect shortly.A yellow indicator appears when the system determines that an expiration is to become effective within a user-defined number of days before the expiration’s start date.
Note: By default, the
[Misc]ExpDatesetting in your TTS50 is used to set the number of days the system uses to determine when indicators are to turn yellow. -
Red
An expiration is in effect for the resource.
Indicators can be found in these locations.
-
In Order Maintenance
In Order Maintenance, you can use the All Stops tab or the Assign Driver/Equipment window to plan resources on an order. If any planned resource has an active Priority 1 expiration, the
 Save button is red with a yellow exclamation mark. A message indicates whether there are warnings or errors for the order.
If you attempt to save anyway, the system will display the Save Warnings window, which lists the issues you must correct before saving.
Errors other than a planned resource’s expiration can cause the Save button to display in red. -
In the Trip Folder
In the Trip Folder, you can use the Assign Driver/Equipment window to plan resources on trips. Additionally, you can assign resources to trips using the Trip Info tab or the Stops tab.
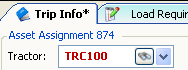
The Trip Folder does not display P1 and P2 indicators. Instead, resource ID’s in the Trip Info tab’s Asset Assignment section change color if there is an active or pending expiration.
-
If a resource you assign has an active Priority 1 expiration, the ID is shown in red. The assignment cannot be saved.
-
When a resource has an upcoming Priority 1 expiration, the ID is shown in yellow. The assignment can be saved.

-
-
In the Planning Worksheet
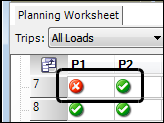
P1 and P2 indicators display on the Planning Worksheet’s Inbound, Driver, Tractor, Trailer, and Carrier tabs. The tabs are located in the Resource pane. Clicking an indicator will open the Driver/Asset Expirations window.
-
In the Edit Driver Schedule window
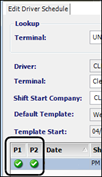
In the Edit Driver Schedule window, P1 and P2 indicators appear in the Driver Schedule Details section of the window. Clicking an indicator will open the Driver/Asset Expirations window. The window will show all expirations recorded for the driver whose schedule you were viewing.
-
In the Trip Planner
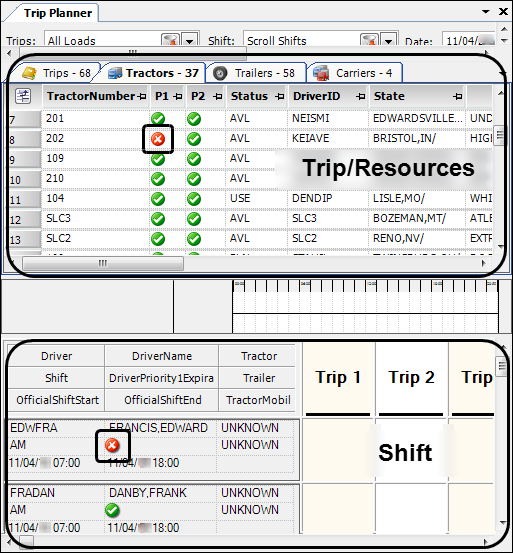
You can view expiration indicators in the Trip Planner. Clicking an indicator will open the Driver/Asset Expirations window.
-
P1 and P2 indicators appear on the Tractors, Trailers, and Carriers tabs.
-
The P1 indicator displays for drivers by default. This is found under the DriverPriority1ExpirationImage column header.
Note: The P2 indicator can be added to the Shift pane using the Cell Designer. This is found under the DriverPriority2ExpirationImage column header.
-
| Even though the system will prevent you from starting a trip for a driver with a required expiration, you may want to keep the driver from being listed as available. Changing the driver’s shift status to Off Duty will prevent him from being included in the list of available drivers. For more information on driver schedules, see Introduction to scheduling drivers. |