Editing trip data
When you have a list of trips displayed in the Available Trips grid in the Planning Worksheet, the system provides several methods for viewing and editing selected trip data. You can:
-
Use the inline editing feature
-
Open the Trip Folder
-
Open the Assign Driver/Equipment window
-
Open the Turnpike Doubles Edit window
Using the inline editing feature
In the Planning Worksheet, you can use the inline editing feature to edit the following information for a trip:
-
Dates and times
-
Trip status
-
Resource assignments
Follow these steps to use the inline editing feature:
-
Open the Planning Worksheet.
-
Click
 Retrieve located to the right of the Trips field.
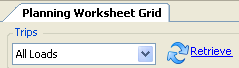
-
In the Available Trips grid, click
 Expand to the left of the trip you want to edit.
The system will expand the view of the trip to display a row for each stop on the trip.
Note: Notice that Expand has been replaced by  Collapse.
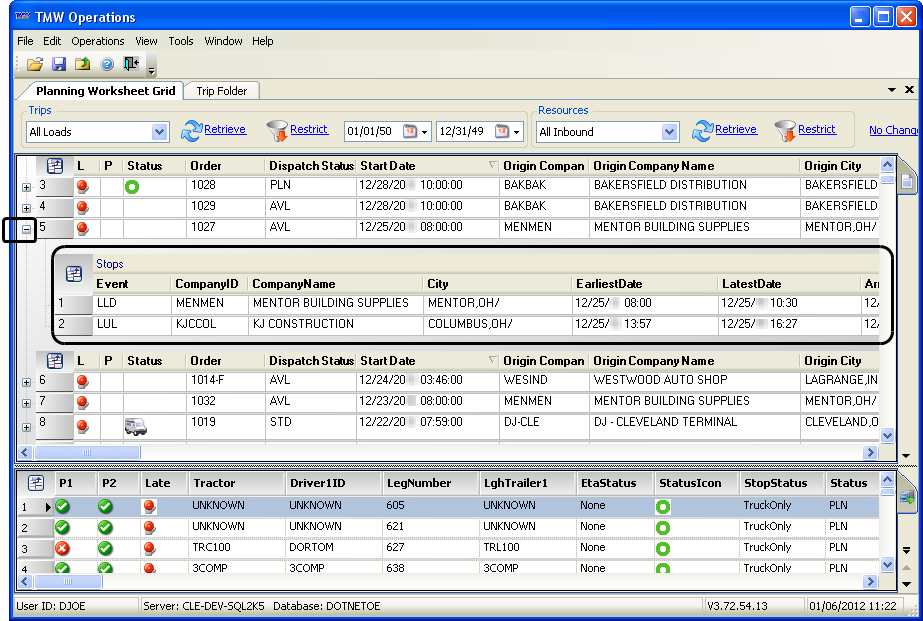
-
As needed, edit data.
You can edit data in these columns: Arrived, ArrivalDate, Carrier, Completed, DepartureDate, Driver1, Driver2, EarliestDate, LatestDate, Tractor, Trailer1, or Trailer2. -
Save your changes.
Using the Trip Folder
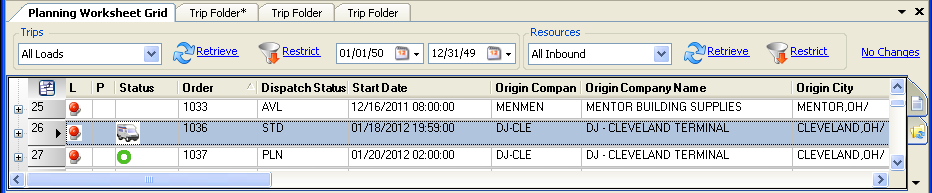
If a trip in the Planning Worksheet is not part of a turnpike double move, you can open the Trip Folder by double-clicking the trip’s row in:
-
The Available Trips grid
-
The Inbound tab of the Available Resources section
After a short pause, the system will display the trip in a new Trip Folder tab. In the Trip Folder, you can edit all trip-related data.
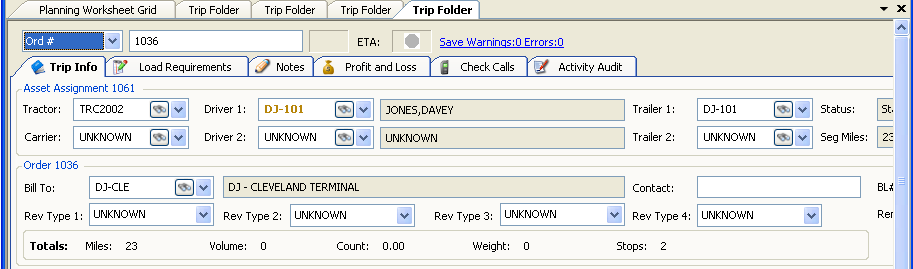
To conserve system resources, close any Trip Folder tabs you do not need.
Using the Assign Driver/Equipment window
From the Planning Worksheet, you can access the Assign Driver/Equipment window, which can be used to:
-
Assign resources.
-
Start or complete a trip.
-
Specify whether the trip should begin and/or end with an empty move.
You can use either of the following two methods to access the Assign Driver/Equipment window in the Planning Worksheet:
-
Select Edit > Asset Assignment.
-
Use the drag and drop function.
You can drag a trip from the Available Trips grid to a resource line in one of the Available Resources grids. Alternatively, you can drag a resource to a trip listed in the Available Trips grid.
The Assign Driver/Equipment window is shown here with sample data.
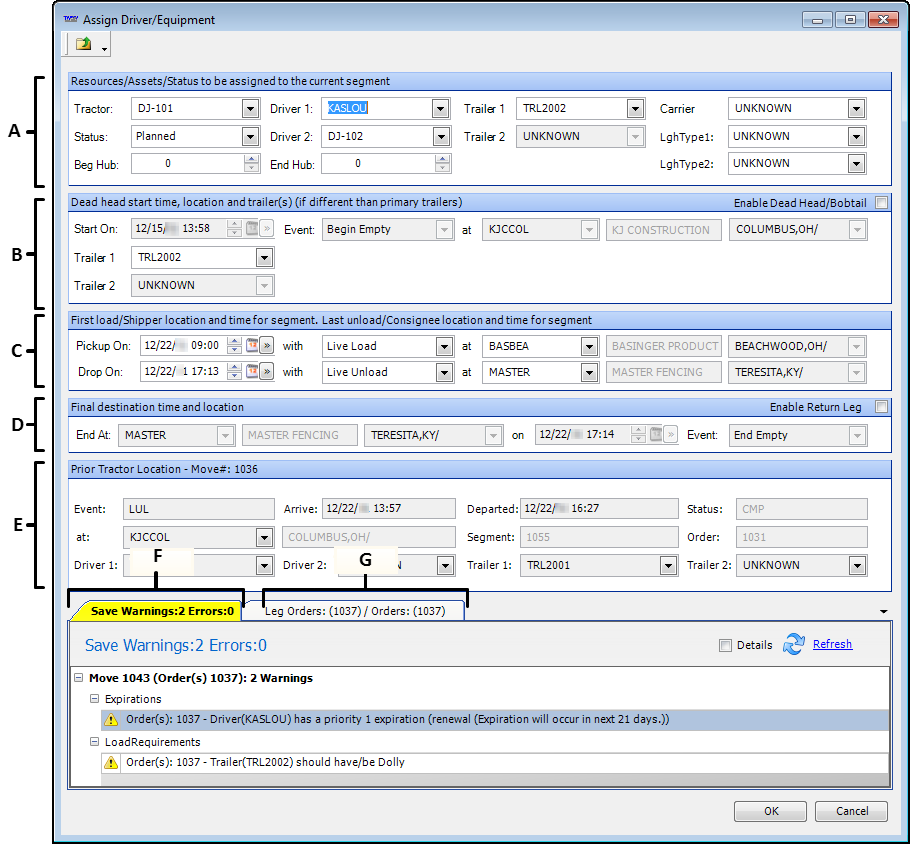
The letters shown below correspond with the callouts in the illustration.
A |
Use these fields to assign resources to haul the load. |
B |
Initially, the system displays read-only information about the first pickup. However, if the tractor is not at the start location of the trip, you can select the Enable Dead Head/Bobtail checkbox to indicate that the trip is to start with a bobtail or deadhead. You then can record the location where the tractor will begin empty, as well as the date/time. |
C |
These fields identify the locations and dates/times of the first pickup and final drop. |
D |
Initially, the system displays read-only information about the last drop. If needed, you can select the Enable return Leg checkbox to indicate that the trip is to end with a bobtail or deadhead. You then can record the location where the tractor will end empty, as well as the date/time. |
E |
Displays information about the last event of the assigned tractor’s most recent trip when the trip has a status of Planned, Dispatched, Started, or Completed. All fields are read-only. |
F |
Any warnings or errors that will prevent dispatch appear at the bottom of the window. |
G |
Displays information about the trip’s stops. All fields are read-only. |
To find out more about the window, see Assigning resources in the Assign Driver/Equipment window.
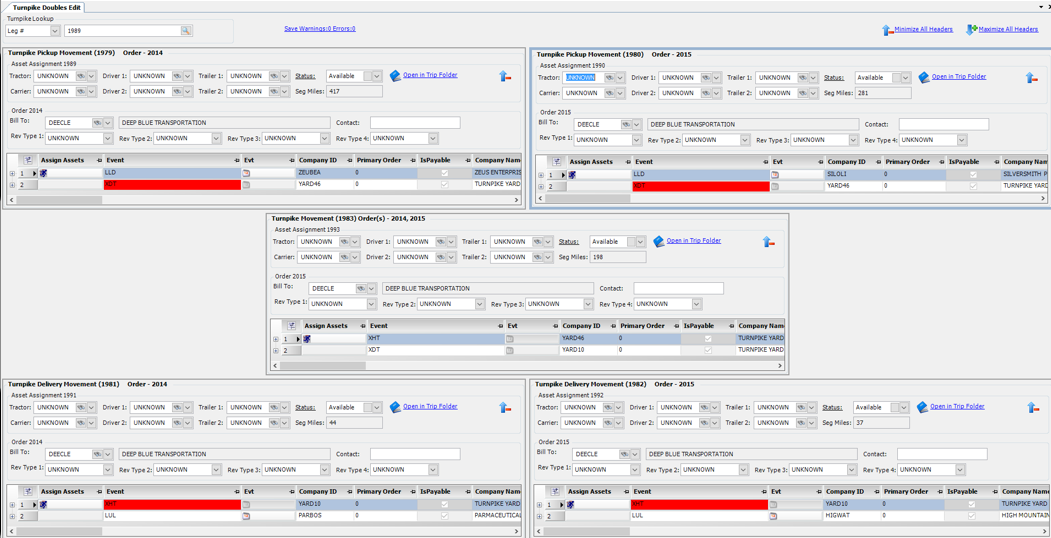
Using the Turnpike Doubles Edit window
If a trip in the Planning Worksheet is part of a turnpike double, you can open the Turnpike Doubles Edit window by double-clicking the trip’s row in the Available Trips grid.
After a short pause, the system will display the trip in a new Turnpike Doubles Edit tab. This window allows you to view and edit all trips, or moves, associated with a turnpike double.
Assigning multi-order jobs with the drag and drop feature
First available in TMW Operations V. 2020.3
You can drag multi-order jobs and drop them on assets in the Planning Worksheet. This feature applies to two types of multi-order job arrangements:
-
Order-based
Specifies the number of orders needed to complete the multi-order job. You keep creating orders until there are no orders left on the job. -
Freight-based
Specifies the total quantity of freight to be delivered on the orders created from the job. You keep creating orders until all freight is removed from the job.
As you plan orders, the system deducts the freight or orders from the multi-order job. When you subtract all of the freight or orders from it, the multi-order job is fulfilled. Its status changes to Canceled.
For details on the required system setup and creating multi-order jobs, see Creating a multi-order job.
Assigning order-based jobs
-
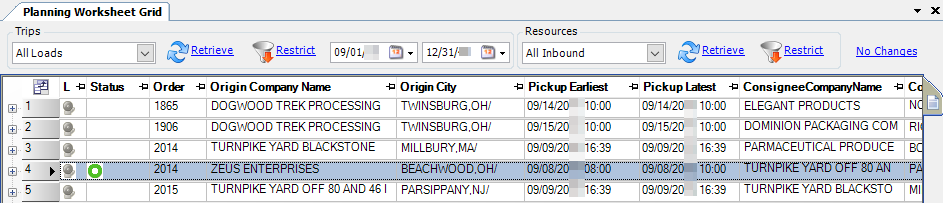
In the Planning Worksheet, retrieve trips and resources.
In the Available Trips grid, multi-order jobs have a Dispatch Status of JOB. -
Drag the multi-order job to the assets you want to assign on the Inbound tab.
The system creates a new planned order. It copies the freight quantity listed in the multi-order job to the Planned order.
Repeat this process each time you are ready to assign assets to another order for this multi-order job. When all orders are created, the multi-order job status changes to Canceled.
Assigning freight-based jobs
-
In the Planning Worksheet, retrieve trips and resources.
In the Available Trips grid, multi-order jobs have a Dispatch Status of JOB. -
Drag the multi-order job to the assets you want to assign on the Inbound tab.
The Copy Order/Trip window opens. -
In the Freight tab’s Per Copy field, specify how much of the freight the driver will transport for this order.
-
Make sure the Copy Quantities checkbox is selected.
-
Click OK.
The system adds a Planned order with the assets you assigned to the Planning Worksheet.
Repeat this process each time you are ready to assign assets to another load for this multi-order job. When all freight is removed, the multi-order job status changes to Canceled.